

How To Deploy Smart Contracts to the Blockchain with Bunzz
You don't need to know how to write Solidity or Rust to deploy a smart contract


To write and deploy a smart contract, knowledge of programming languages like Solidity and Rust is required. But if you do not know these languages or you do not want to go through the hassle of writing a smart contract, I have a solution for you.
In this tutorial, we will learn how to use Bunzz's already-created smart contracts and deploy them to the blockchain in 10 minutes.
Prerequisite
To follow up with this tutorial, you should have:
Basic knowledge of the Blockchain
MetaMask wallet already installed in your browser
Add and switch to the Polygon network on your MetaMask wallet.
What is Bunzz?
Bunzz is a software platform that provides smart contract services to users. They carry out the task of writing these smart contracts for you, and all you have to do is select the smart contract you want and deploy it to the blockchain.
Steps in selecting and Deploying a smart contract with Bunzz
Sign up with Bunzz

Click on connect wallet to connect your MetaMask wallet to Bunzz. switch to the Polygon network on your MetaMask wallet.

Click on Create Dapp. Give your Dapp any name of your choice. Then click Next.


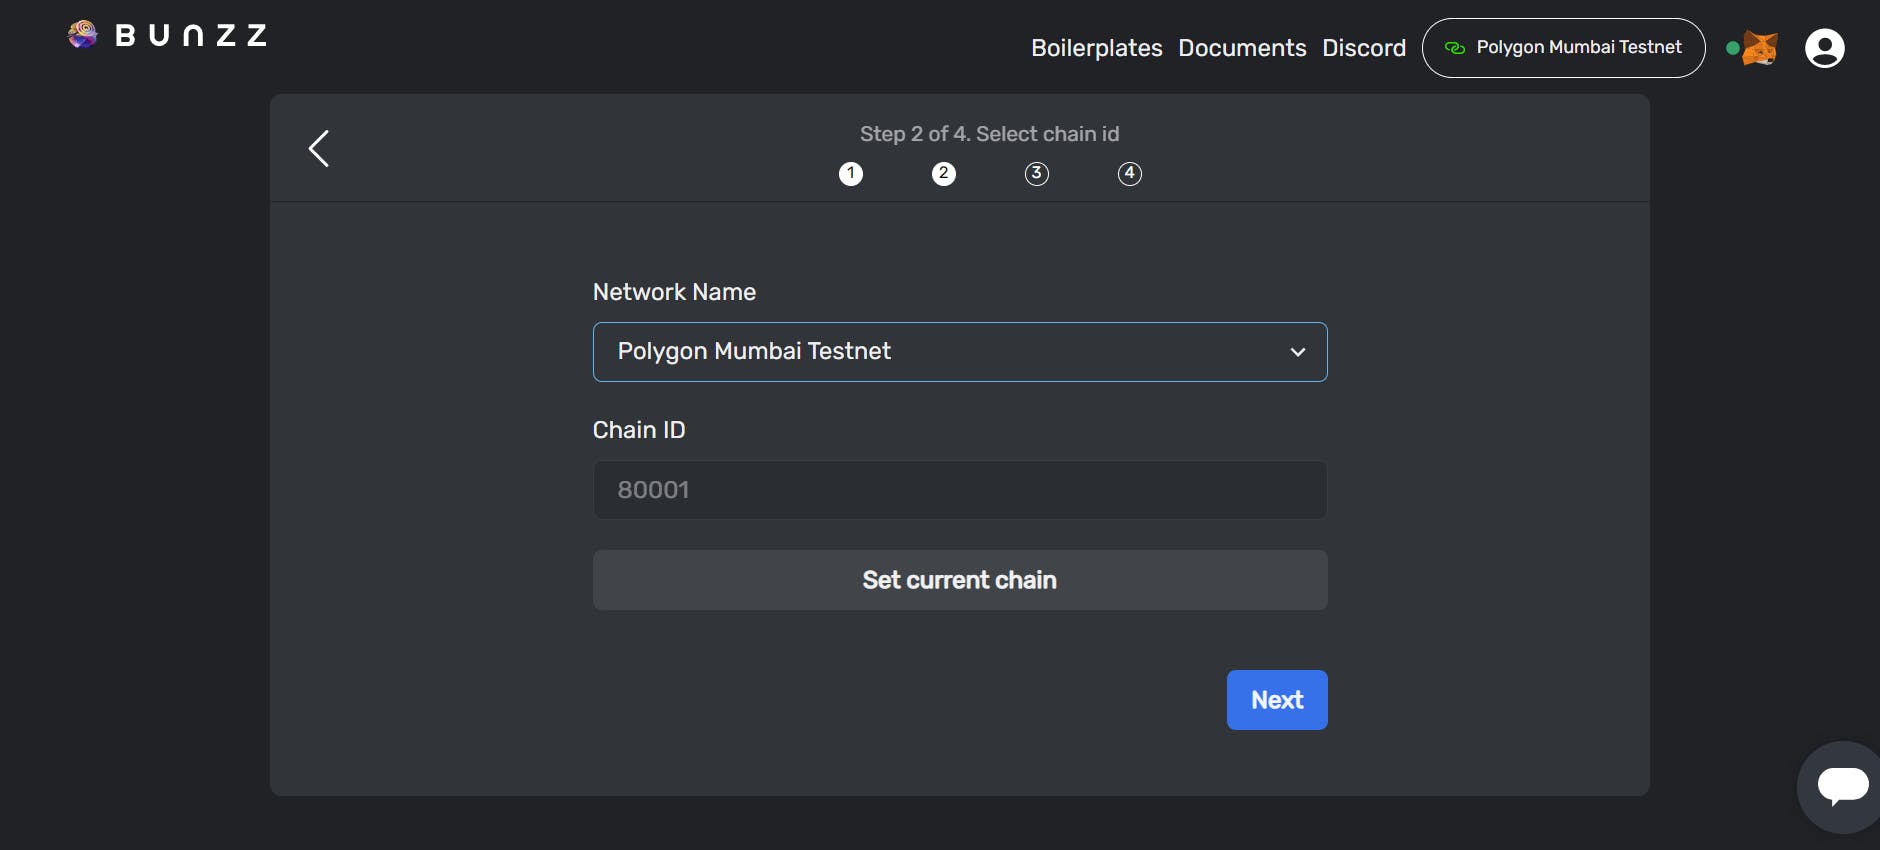
Select Polygon Mumbai Testnet as the network name. Then click Next.
Note: Because this is just a tutorial we will be deploying to Polygon Mumbai Testnet. But when you are building an actual Dapp, deploy it to Polygon Mainnet.
Go to prepared templates.
You will see a list of already written templates/smart contracts awaiting deployment.
To know everything about all the functions available in the smart contract and to see the codes. Click on the dropdown button

we will be using the first template named Simple Token. Click on Use this template

Give your Token a name(any name of choice), and a unique symbol. for example, if the token name is ‘JRocks Hospital Token’, then the symbol can be ‘JHT’.

Before you deploy, you need to have enough tokens in your wallet, or else your contract will not be deployed to the blockchain. Go to polygon faucet and get free Testnet to use for deployment.
Click on deploy. Your MetaMask wallet will pop up on your screen for you to confirm the transaction.

click on back to dashboard

Copy your contract ABI and contract address.

To verify your transaction, paste your contract address on PolygonScan Testnet
Congratulations🥳! you just deployed a smart contract without writing it yourself.
what next?
In our next tutorial, we will learn how to use ethers.js to interact with our smart contract and build real-life Applications. Ensure you keep your ABI and contract Address from the smart contract you just deployed because you will need it.